That’s why WM Construction plans appliances early—before final cabinet drawings—especially for kitchen remodeling in Rancho Cucamonga where layout changes can trigger permit and inspection requirements.
Proof, Trust, and Credentials (No Fluff)
- “With over 10 years of experience”
- “We’ve been remodeling homes in Rancho Cucamonga and Ontario since 2014 — more than 10 years of real work, one home at a time.”
- “Customer satisfaction is our #1 priority”
- “Every project we finish comes with a signed client form — we’ve completed 127+ home remodels since 2014.”
- “We get the job done right”
- “We are licensed by the California State License Board — License #1075983. You can check it online.”
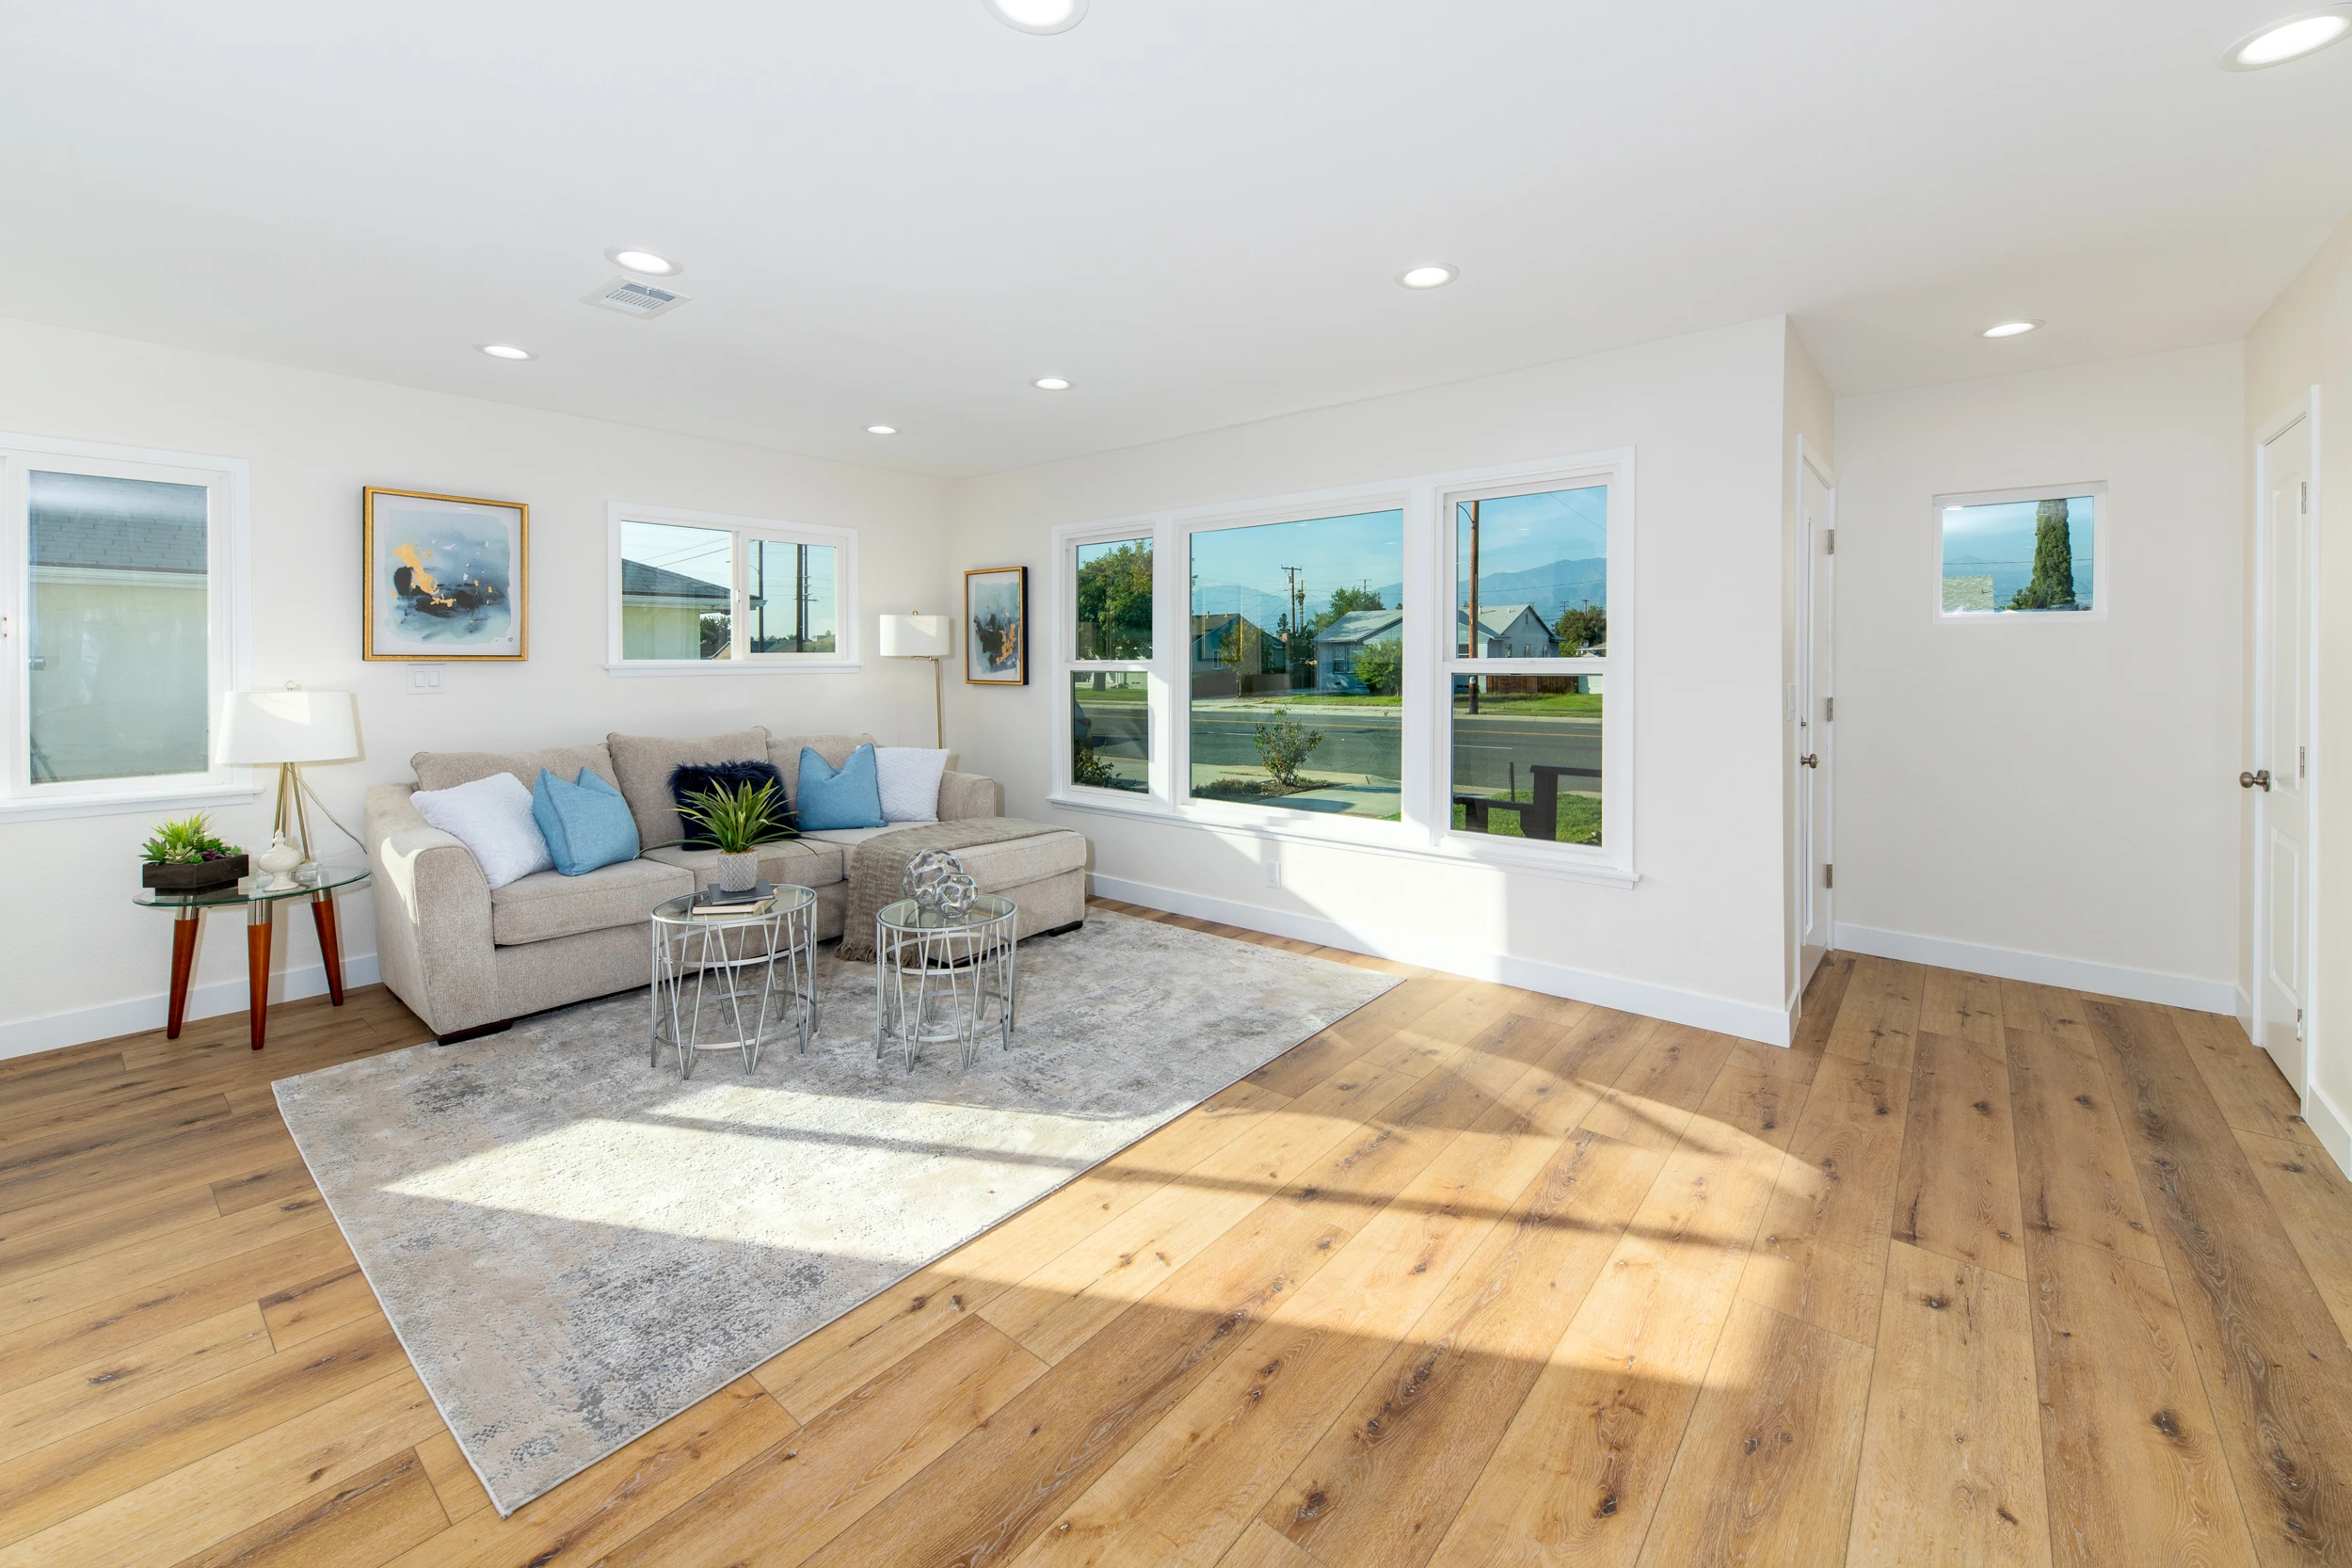
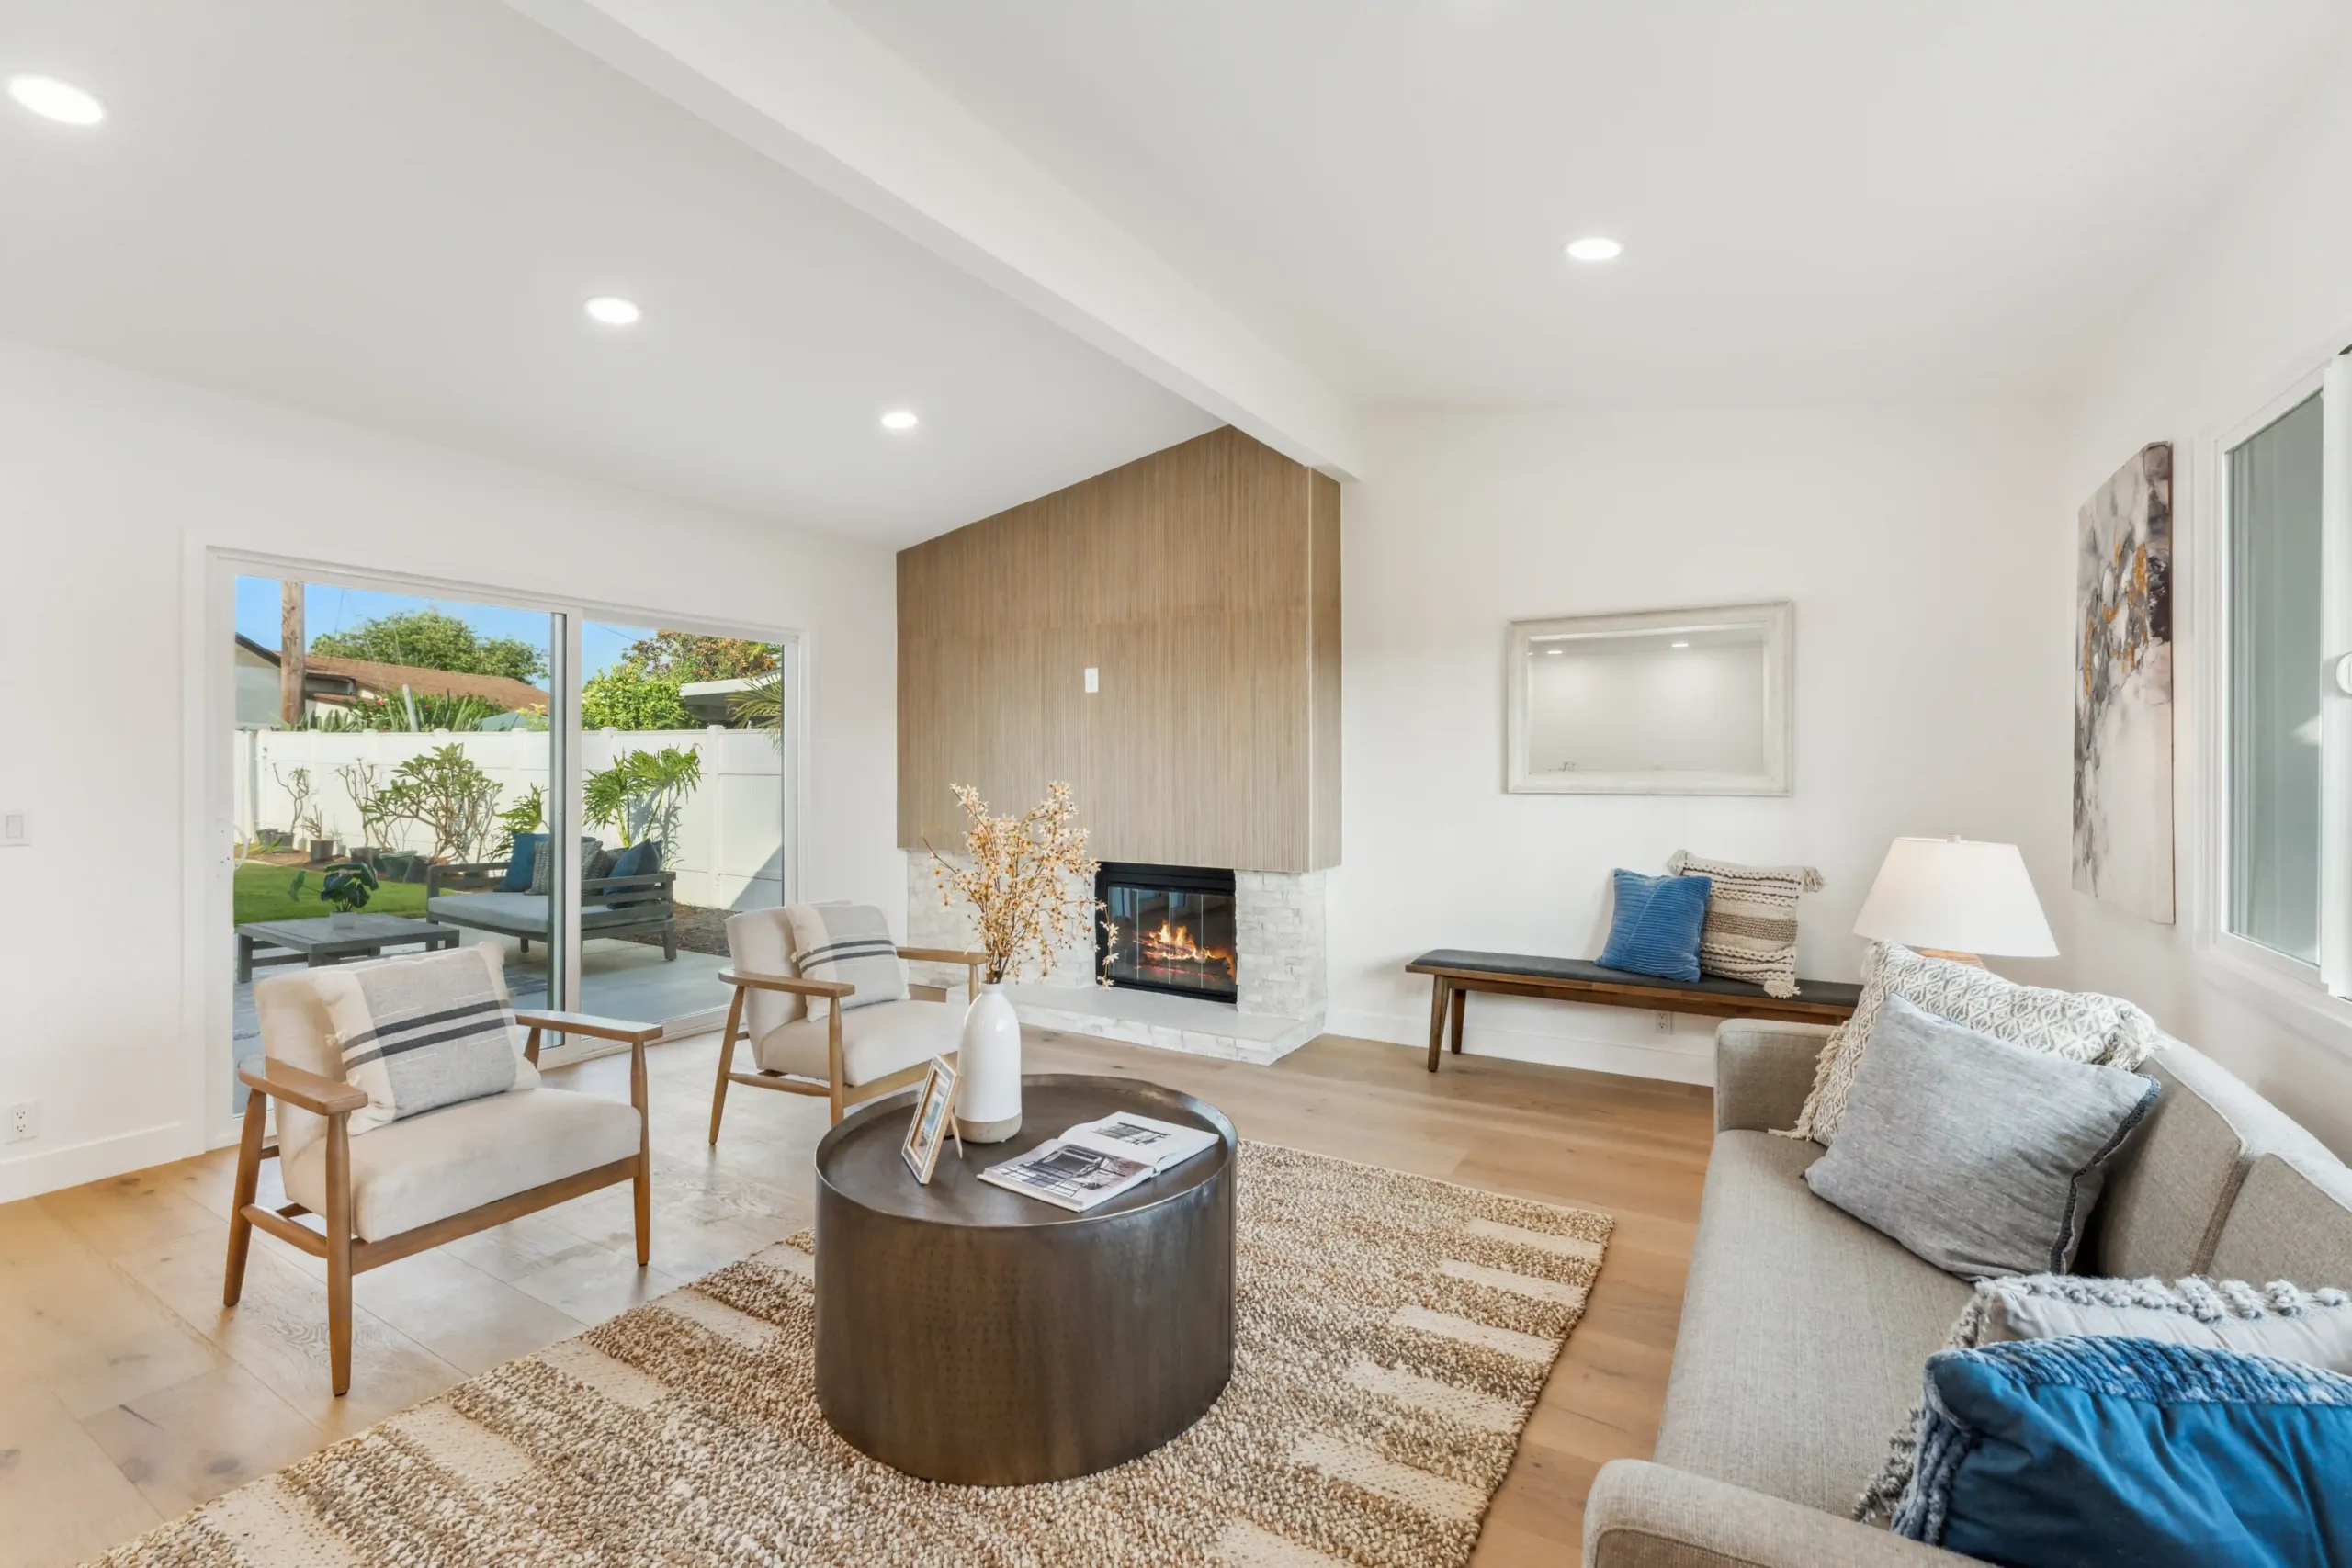
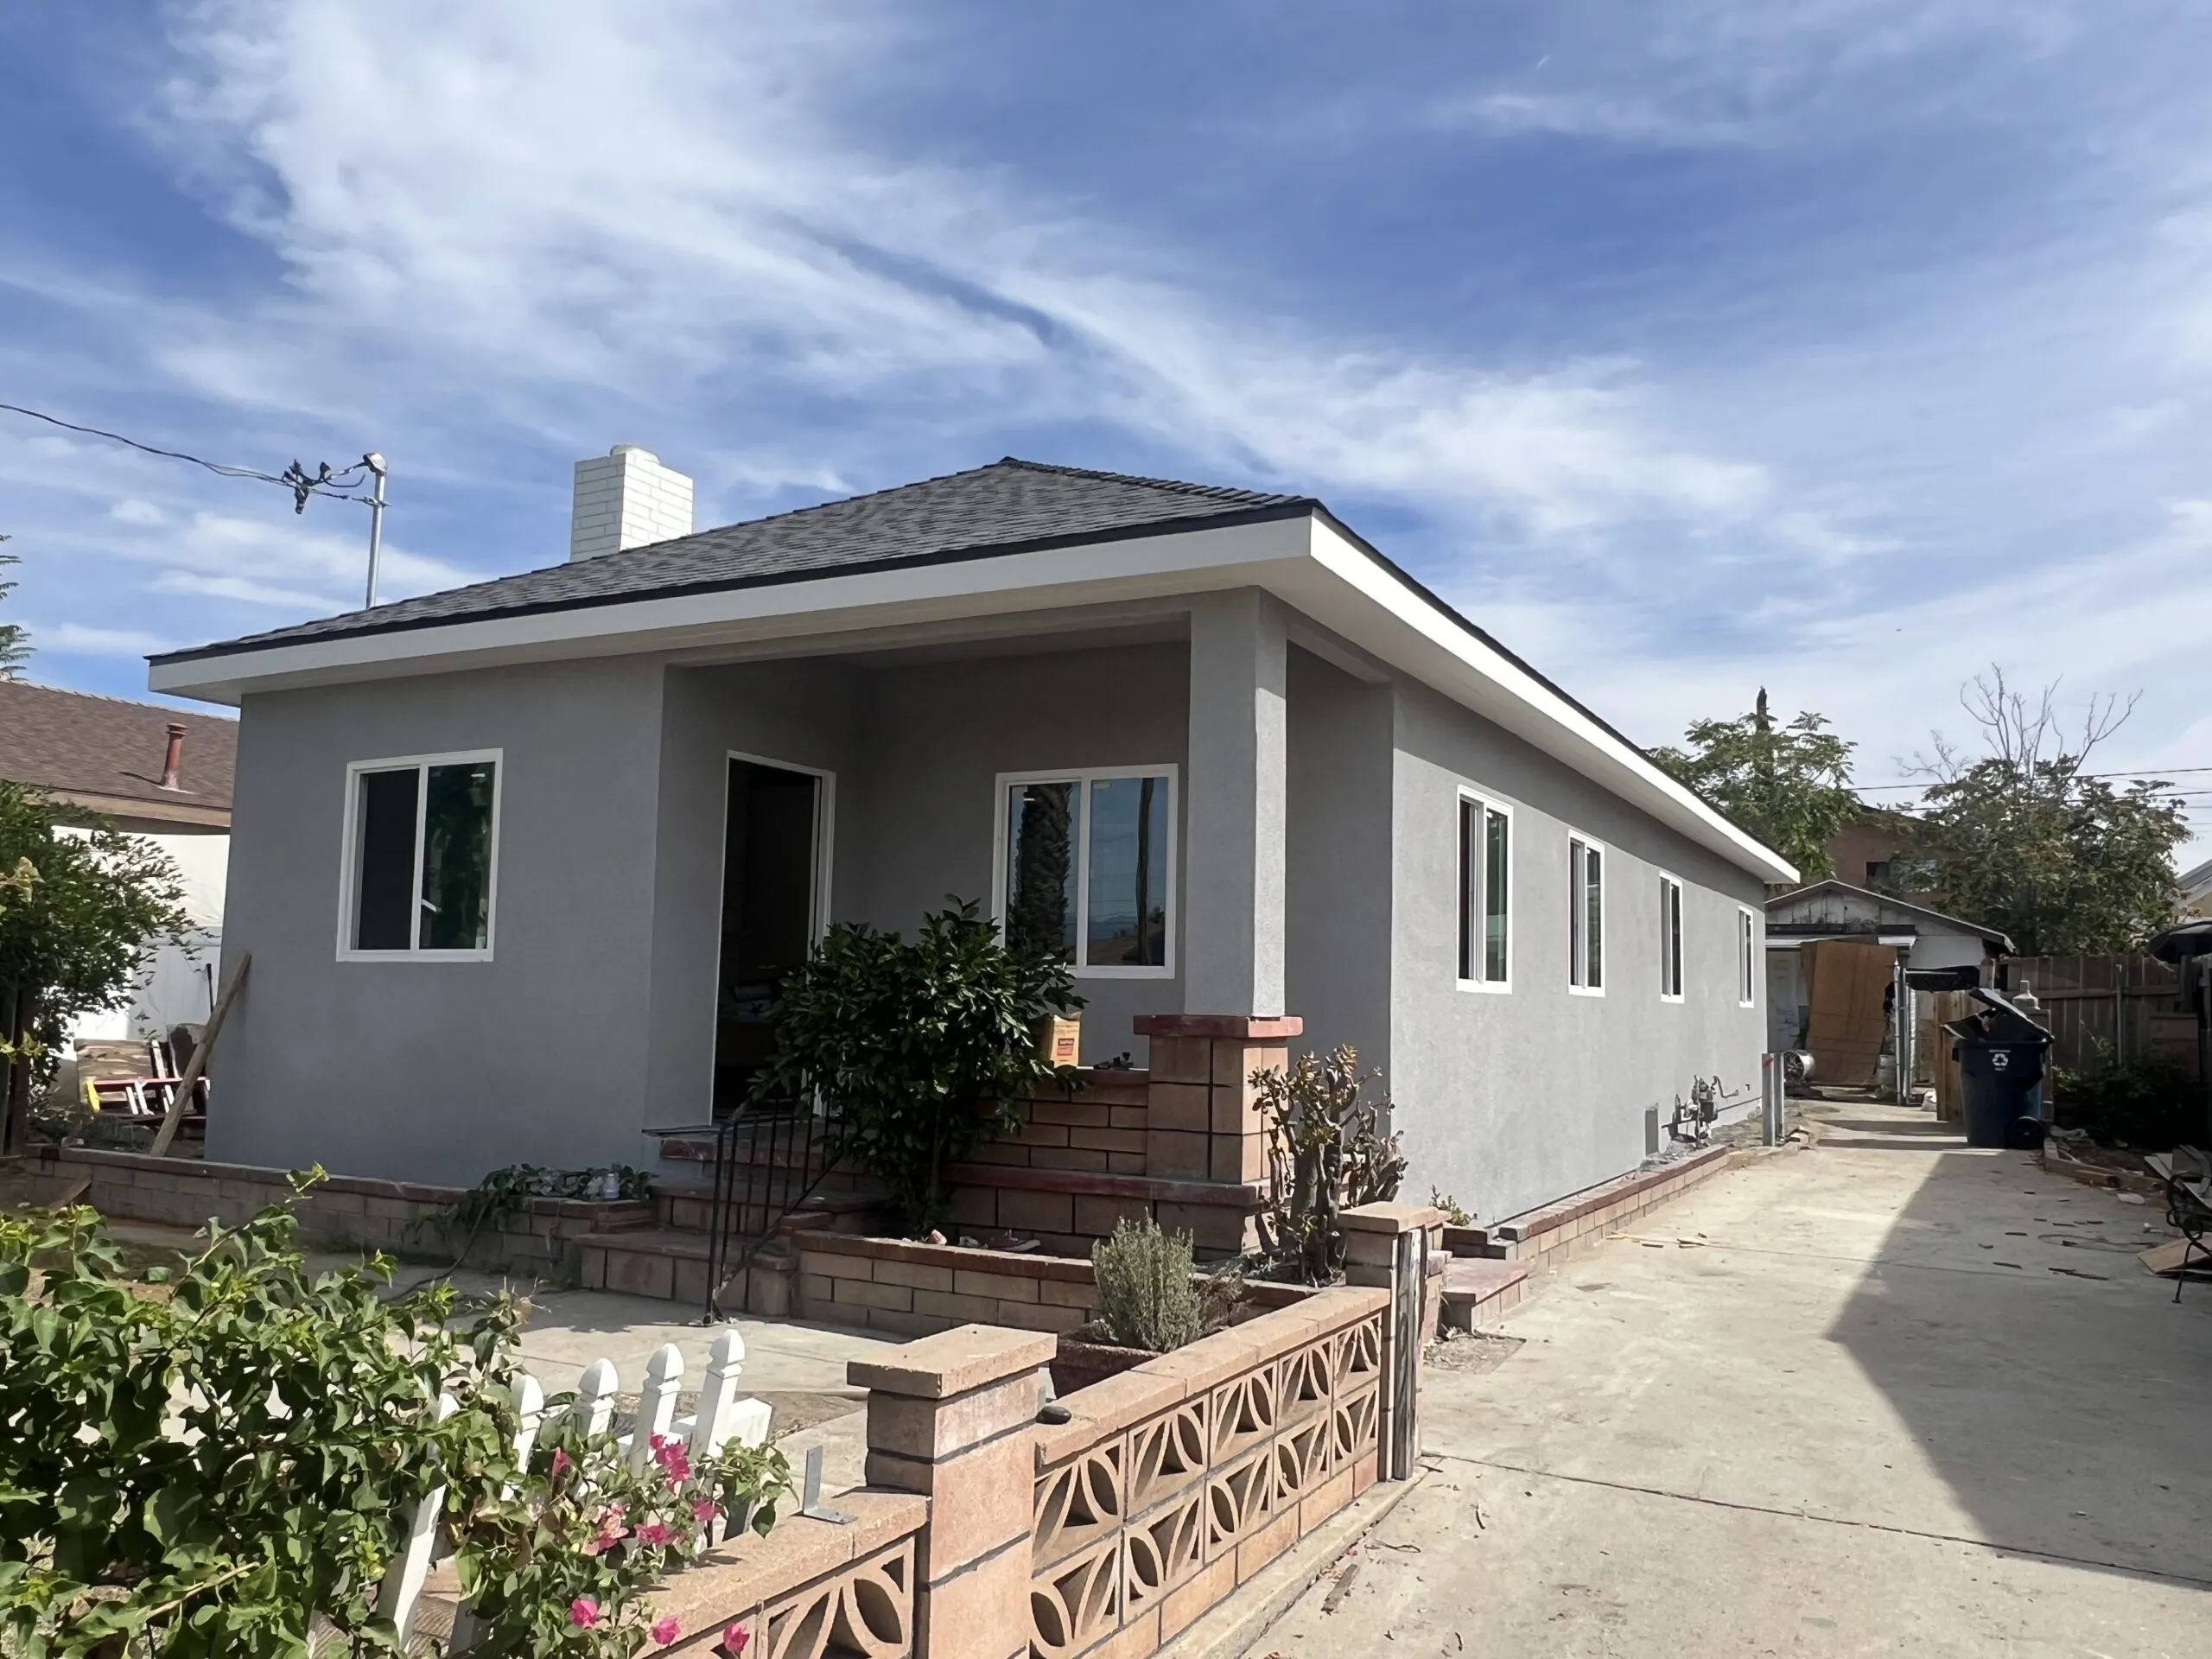
Want to see real project photos? Browse the WM Construction project gallery and compare layouts, finishes, and appliance placements.
Step 1: Lock the “Appliance Footprint” Before Cabinets
If you choose appliances after cabinets, you risk expensive rework: wrong openings, doors that collide, or a refrigerator that sticks out too far. A smarter approach is to confirm these items first:
- Refrigerator type: standard-depth vs counter-depth; hinge swing direction; water line location.
- Range or cooktop + wall oven: fuel type (gas or electric), required clearance, and hood/vent plan.
- Dishwasher width and handle style: handle depth can hit nearby drawers if spacing is tight.
- Microwave placement: under-cabinet, drawer microwave, or built-in.
WM Construction typically confirms the “appliance footprint” during the same planning phase used for small kitchen remodel planning, where every inch matters.
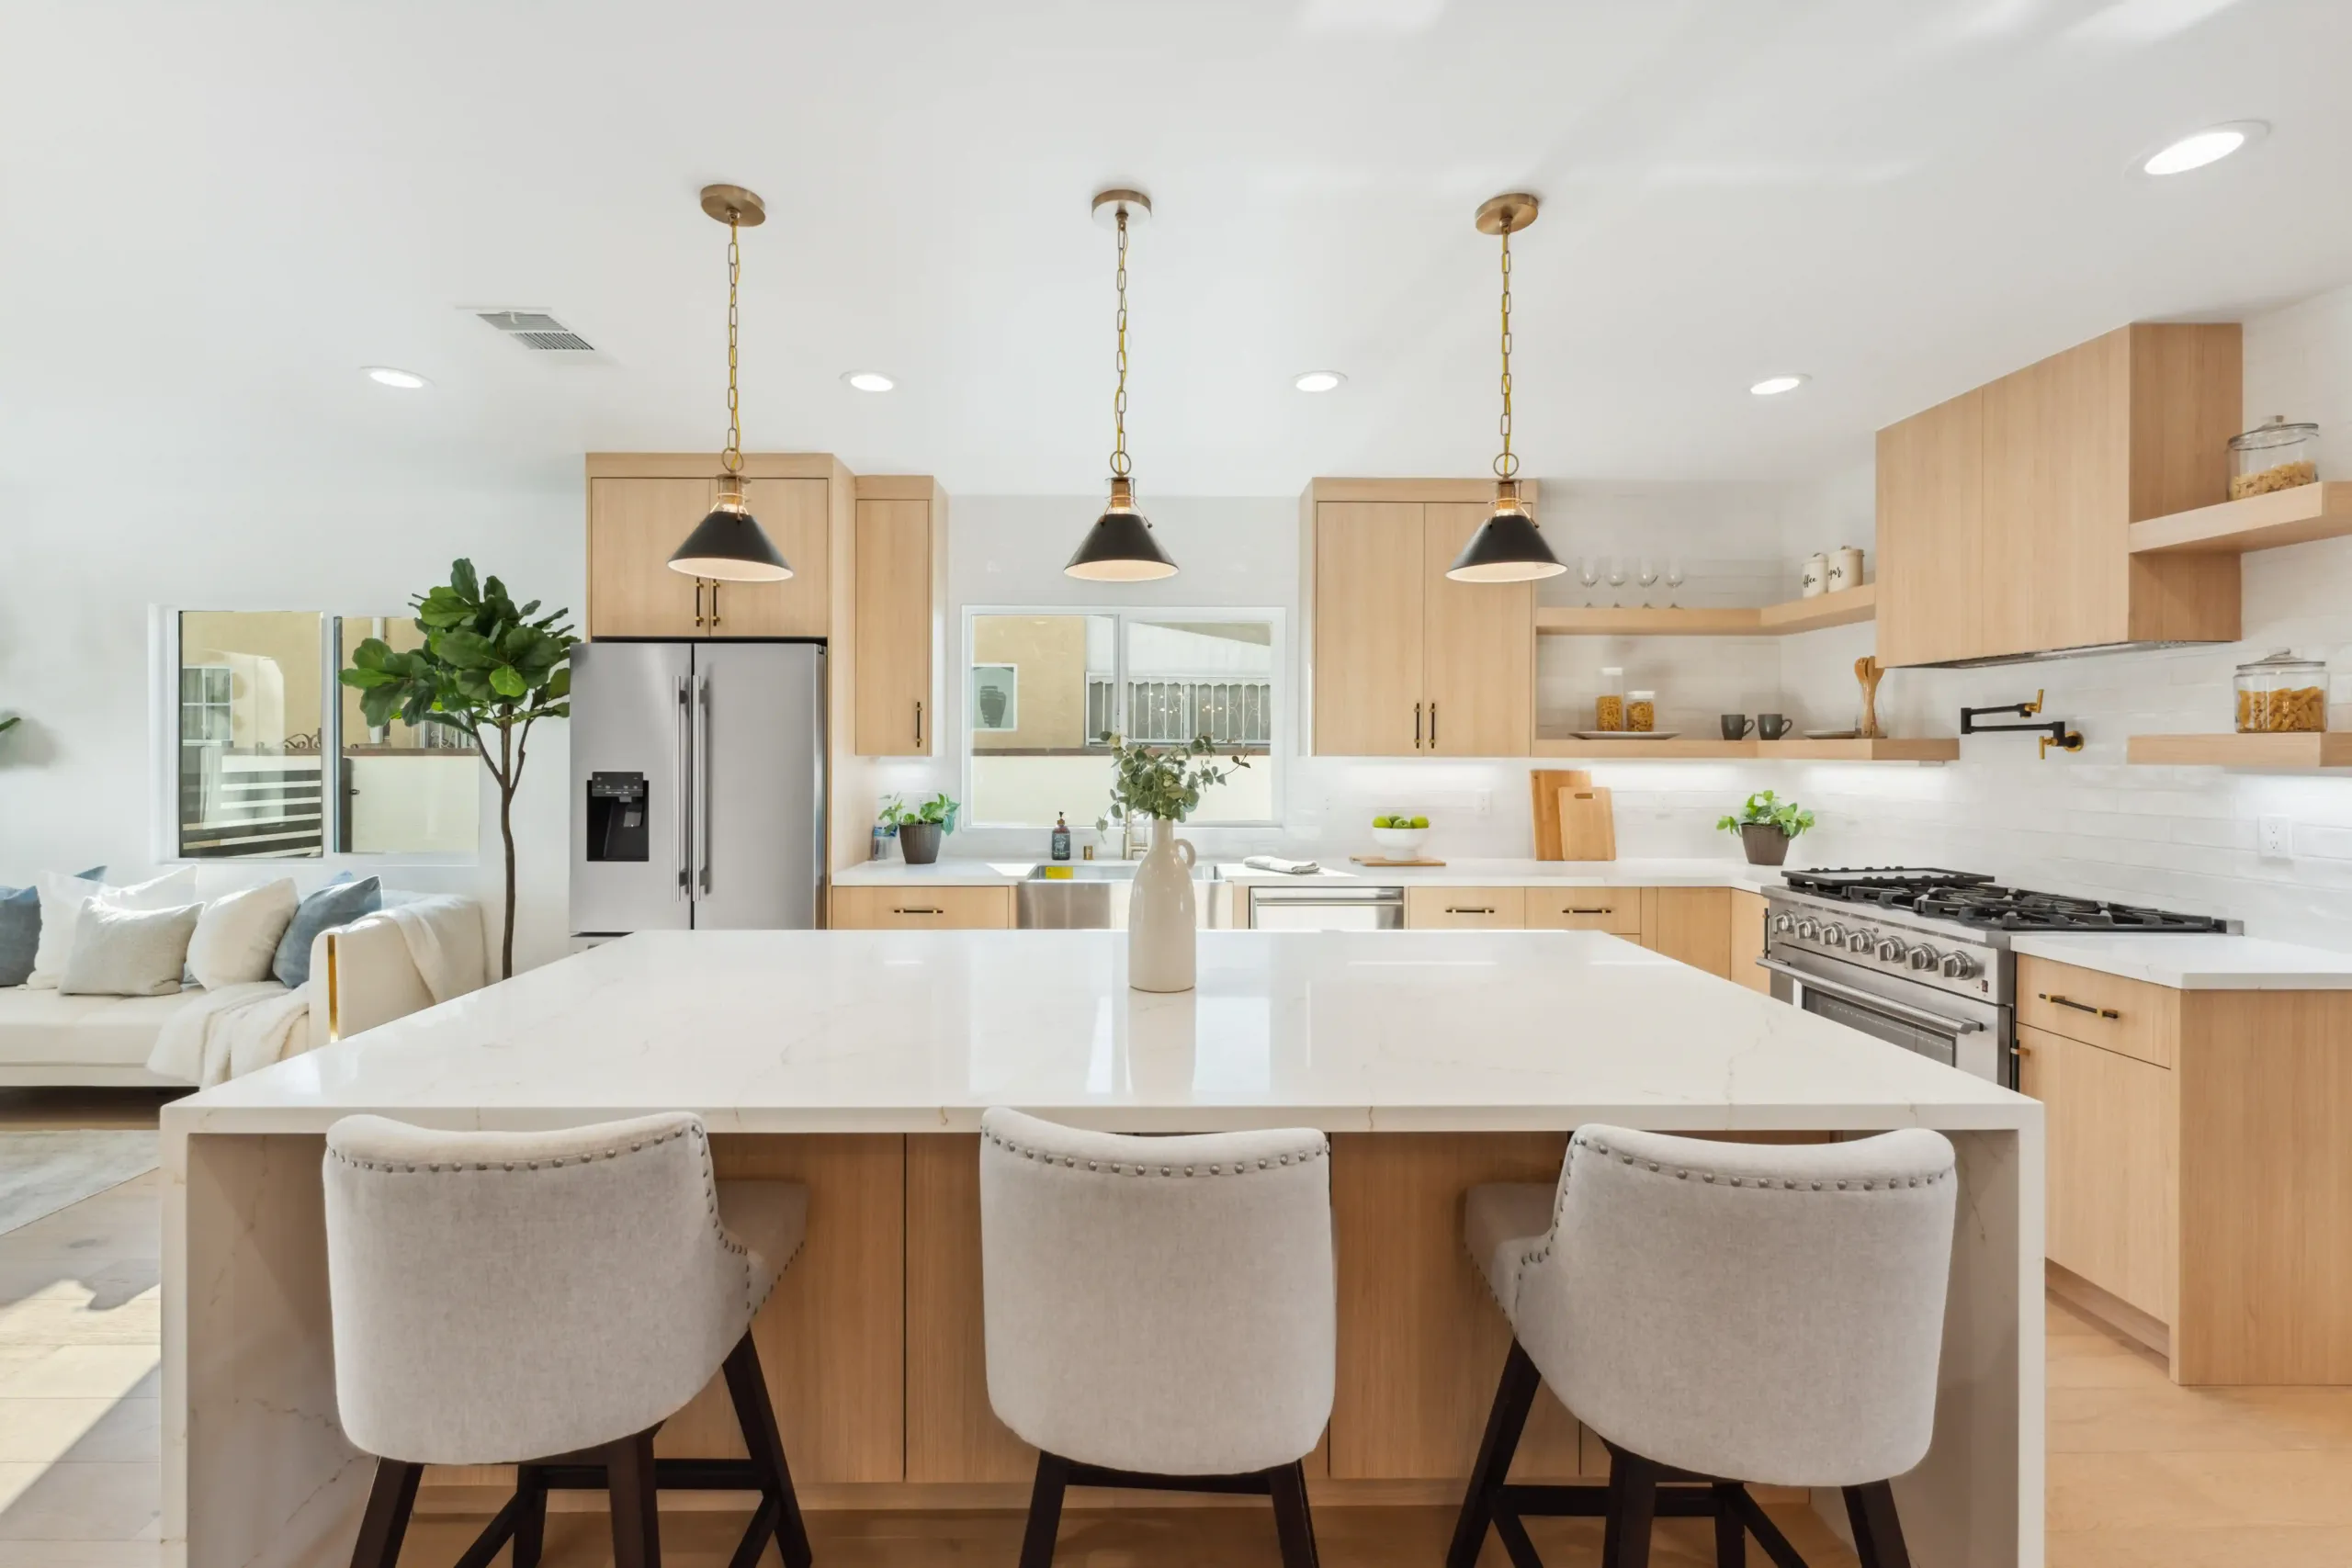
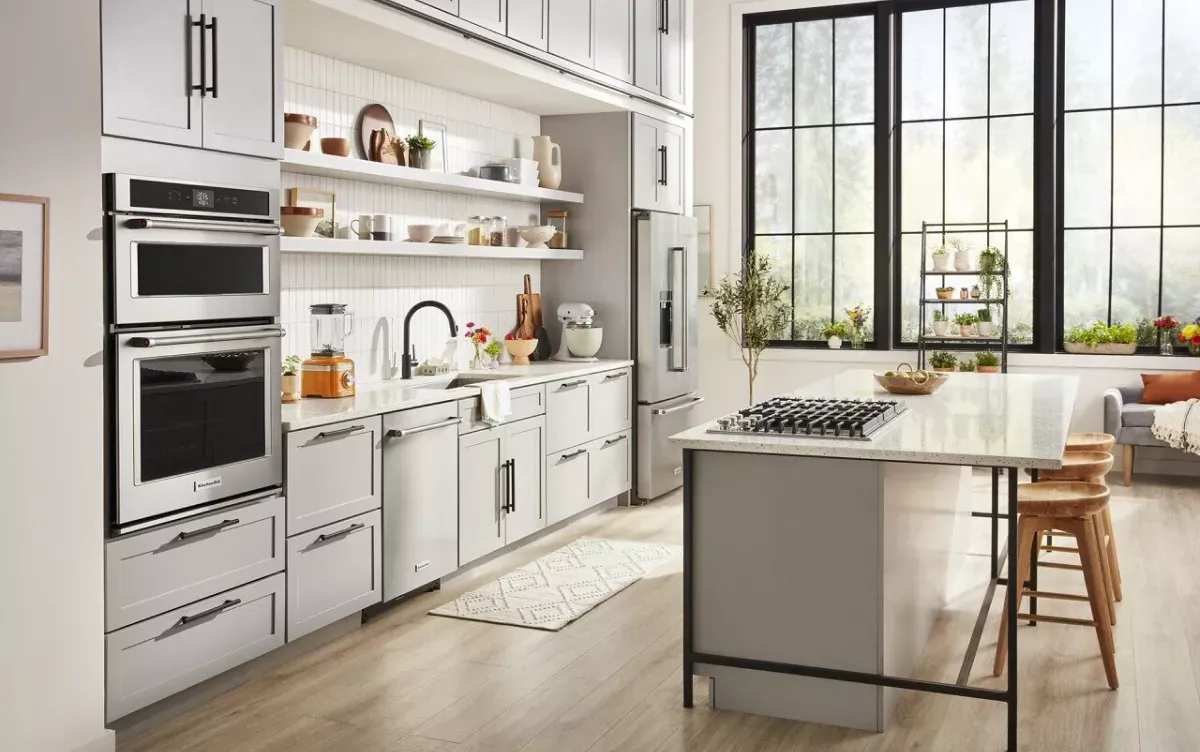
Step 2: Choose Your Finish Strategy (Stainless, Panel-Ready, or Mixed)
Option A: Stainless steel packages
Stainless steel is popular because it’s easy to match across brands and works with most cabinet colors. The key is consistency in sheen: brushed vs fingerprint-resistant vs polished can look mismatched under strong lighting.
Option B: Panel-ready packages
Panel-ready appliances disappear behind cabinet panels for a built-in look. This is where coordination is critical: panels need correct thickness, hardware alignment, and ventilation clearances. If you want a seamless look, plan panel-ready appliances while finalizing cabinet drawings for your luxury kitchen remodel in Rancho Cucamonga.
Option C: Mixed finishes (intentional contrast)
Mixed finishes can look high-end when intentional: for example, a statement range in one finish with quieter integrated appliances elsewhere. The trick is to repeat the “accent finish” at least twice (lighting, faucet, or hardware) so it feels designed—not random.
Step 3: Smart Appliances—Pick the “Ecosystem” First
When homeowners buy smart appliances one by one, they often end up with multiple apps and weak integrations. For smart kitchen appliance packages, choose your ecosystem first:
- Connectivity needs: Wi-Fi reliability in the kitchen, router location, and signal strength.
- Control preference: voice assistant vs app-only vs built-in screens.
- Updates & longevity: make sure the manufacturer supports firmware updates for years (ask directly).
Efficiency is another smart factor. ENERGY STAR certifies appliances that meet specific energy-efficiency criteria, which can help reduce long-term utility use. See current program details on the official ENERGY STAR products directory.
Step 4: Don’t Miss the “Behind-the-Walls” Requirements (Power, Gas, Water)
Coordinating kitchen appliance packages isn’t only design—it’s infrastructure. Before you buy, confirm:
- Electrical capacity: major cooking appliances may need dedicated circuits; confirm panel capacity before finalizing.
- Gas line sizing: if you choose a gas range, verify the gas line can support the appliance rating.
- Water line + shutoff access: refrigerators, ice makers, and some steam ovens need water supply and accessible shutoffs.
- Drain location: dishwashers and sinks must align to avoid awkward routing.
Appliance safety certification matters too. For example, UL standards exist for household electric ranges (a common reference for safety testing and updates).
If your remodel changes plumbing/electrical locations, permits may be required. For permitting in Ontario, review Ontario kitchen remodeling permit guidance to understand typical approval flow.
Step 5: Plan Ventilation Early (Because It Affects Cabinets and Ducting)
Ventilation is where many appliance packages fail in real life. A powerful range without a proper hood or duct path can create lingering odors, grease buildup, and moisture issues.
- Duct route: shortest, straightest path is best—avoid too many elbows.
- Hood size: choose a hood width that matches or slightly exceeds the cooking surface width.
- Make-up air considerations: high exhaust rates may require make-up air planning depending on code and design.
For homeowners who want a full start-to-finish approach, see WM Construction services and how the team coordinates design, plan, permitting, and build.
Step 6: Use a Simple Package Checklist (Print This)
Use this checklist to compare kitchen appliance packages side-by-side:
- Measurements confirmed (opening width/height/depth, door swing, handle depth).
- Finish strategy chosen (stainless / panel-ready / mixed).
- Infrastructure match (electric/gas/water/drain/vent path).
- Noise and comfort (dishwasher dBA rating; hood noise expectations).
- Service access (can techs remove/repair without damaging cabinets?).
- Warranty alignment (one service plan vs multiple brands).
- Delivery timing (appliances on site before cabinet install milestones).
If you’re also considering layout changes beyond the kitchen—like adding a room—see home additions in Rancho Cucamonga for how WM Construction coordinates trades across the whole home.
Next Step
If you want help choosing kitchen appliance packages that fit your layout, utilities, and cabinet plan, WM Construction can guide you from the first sketch to the final inspection.
Call: +1 951-310-3458
Start here: contact WM Construction
FAQ’S
"Q: I want to remodel my kitchen — what’s the first step?"


"A: We come to your home for a free meeting... We build it exactly how you want it."


"Q: Can you help me build an ADU on my property?"


"A: Yes. We specialize in ADUs in Rancho Cucamonga and Ontario — from the first sketch to the final inspection..."


"Q: How long does a full home remodel take?"


"A: Most projects take 8 to 12 weeks... You won’t be left wondering what’s happening."


"Q: What makes you different from other contractors?"


"A: We don’t disappear after you pay... We don’t say “it’s done” until you say it’s right."


"Q: I’m scared to pay upfront — what if you disappear?"


"A: We start with a written contract — every detail is there... And we won’t finish the job until you’re happy."