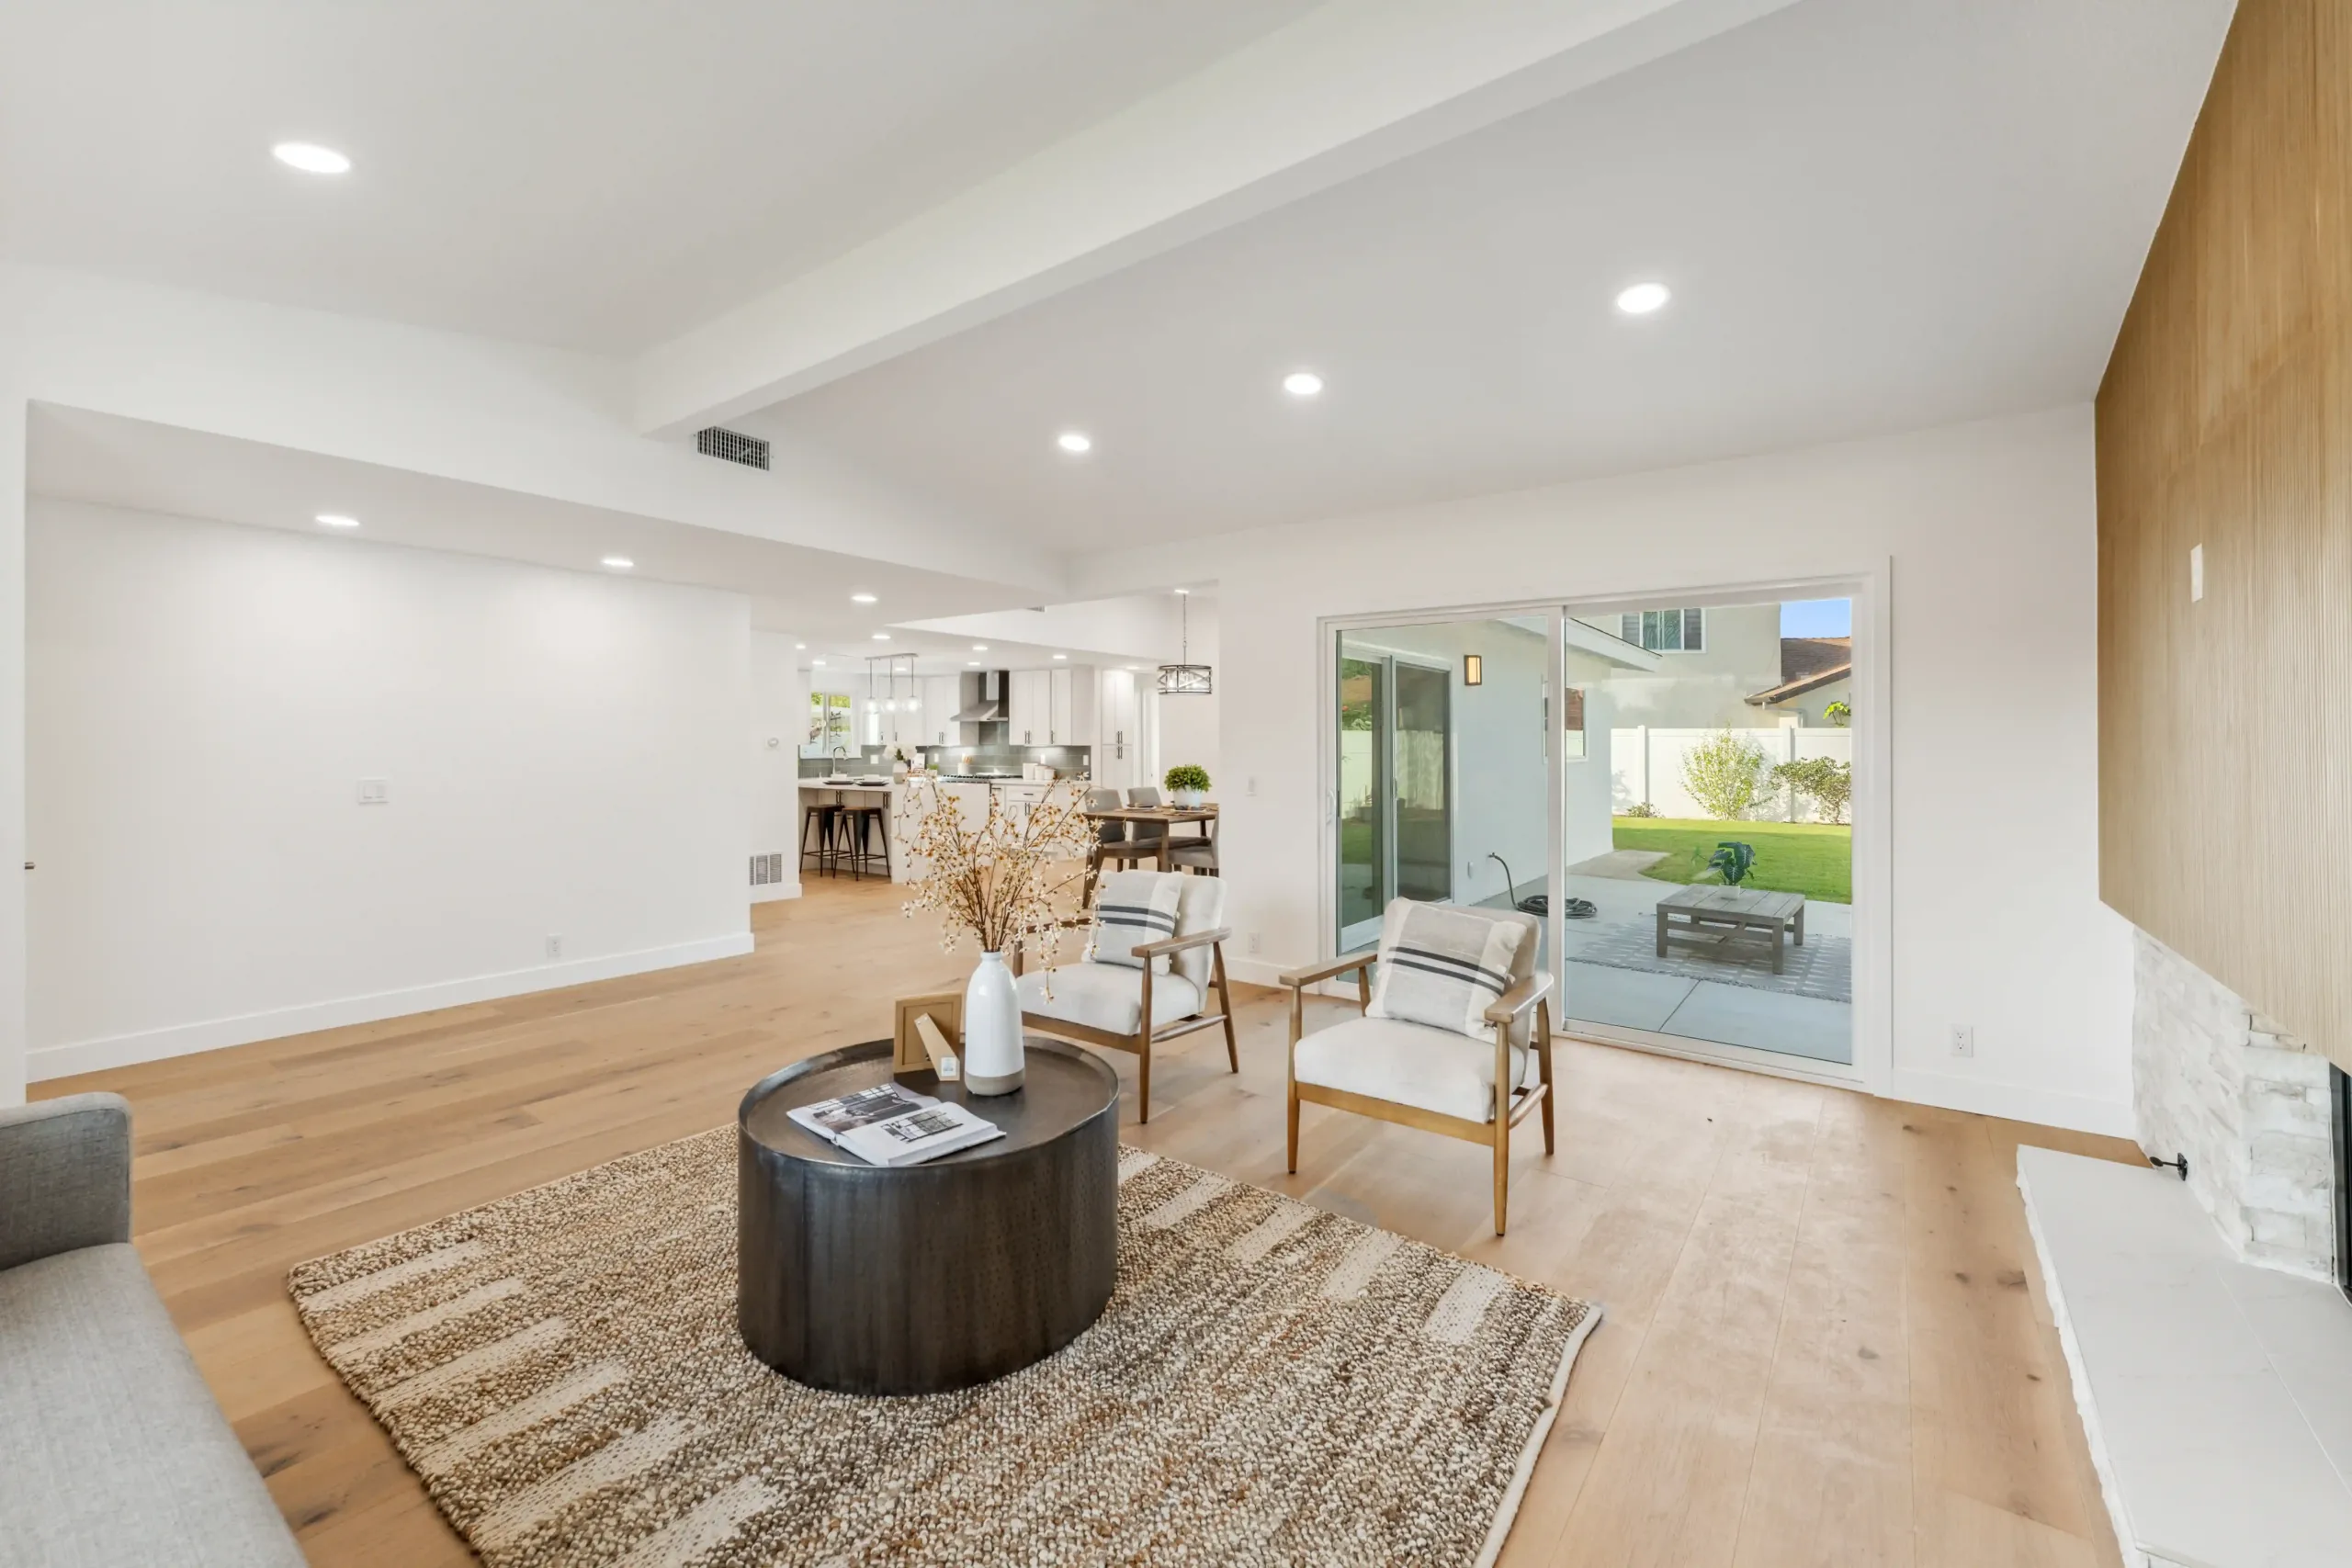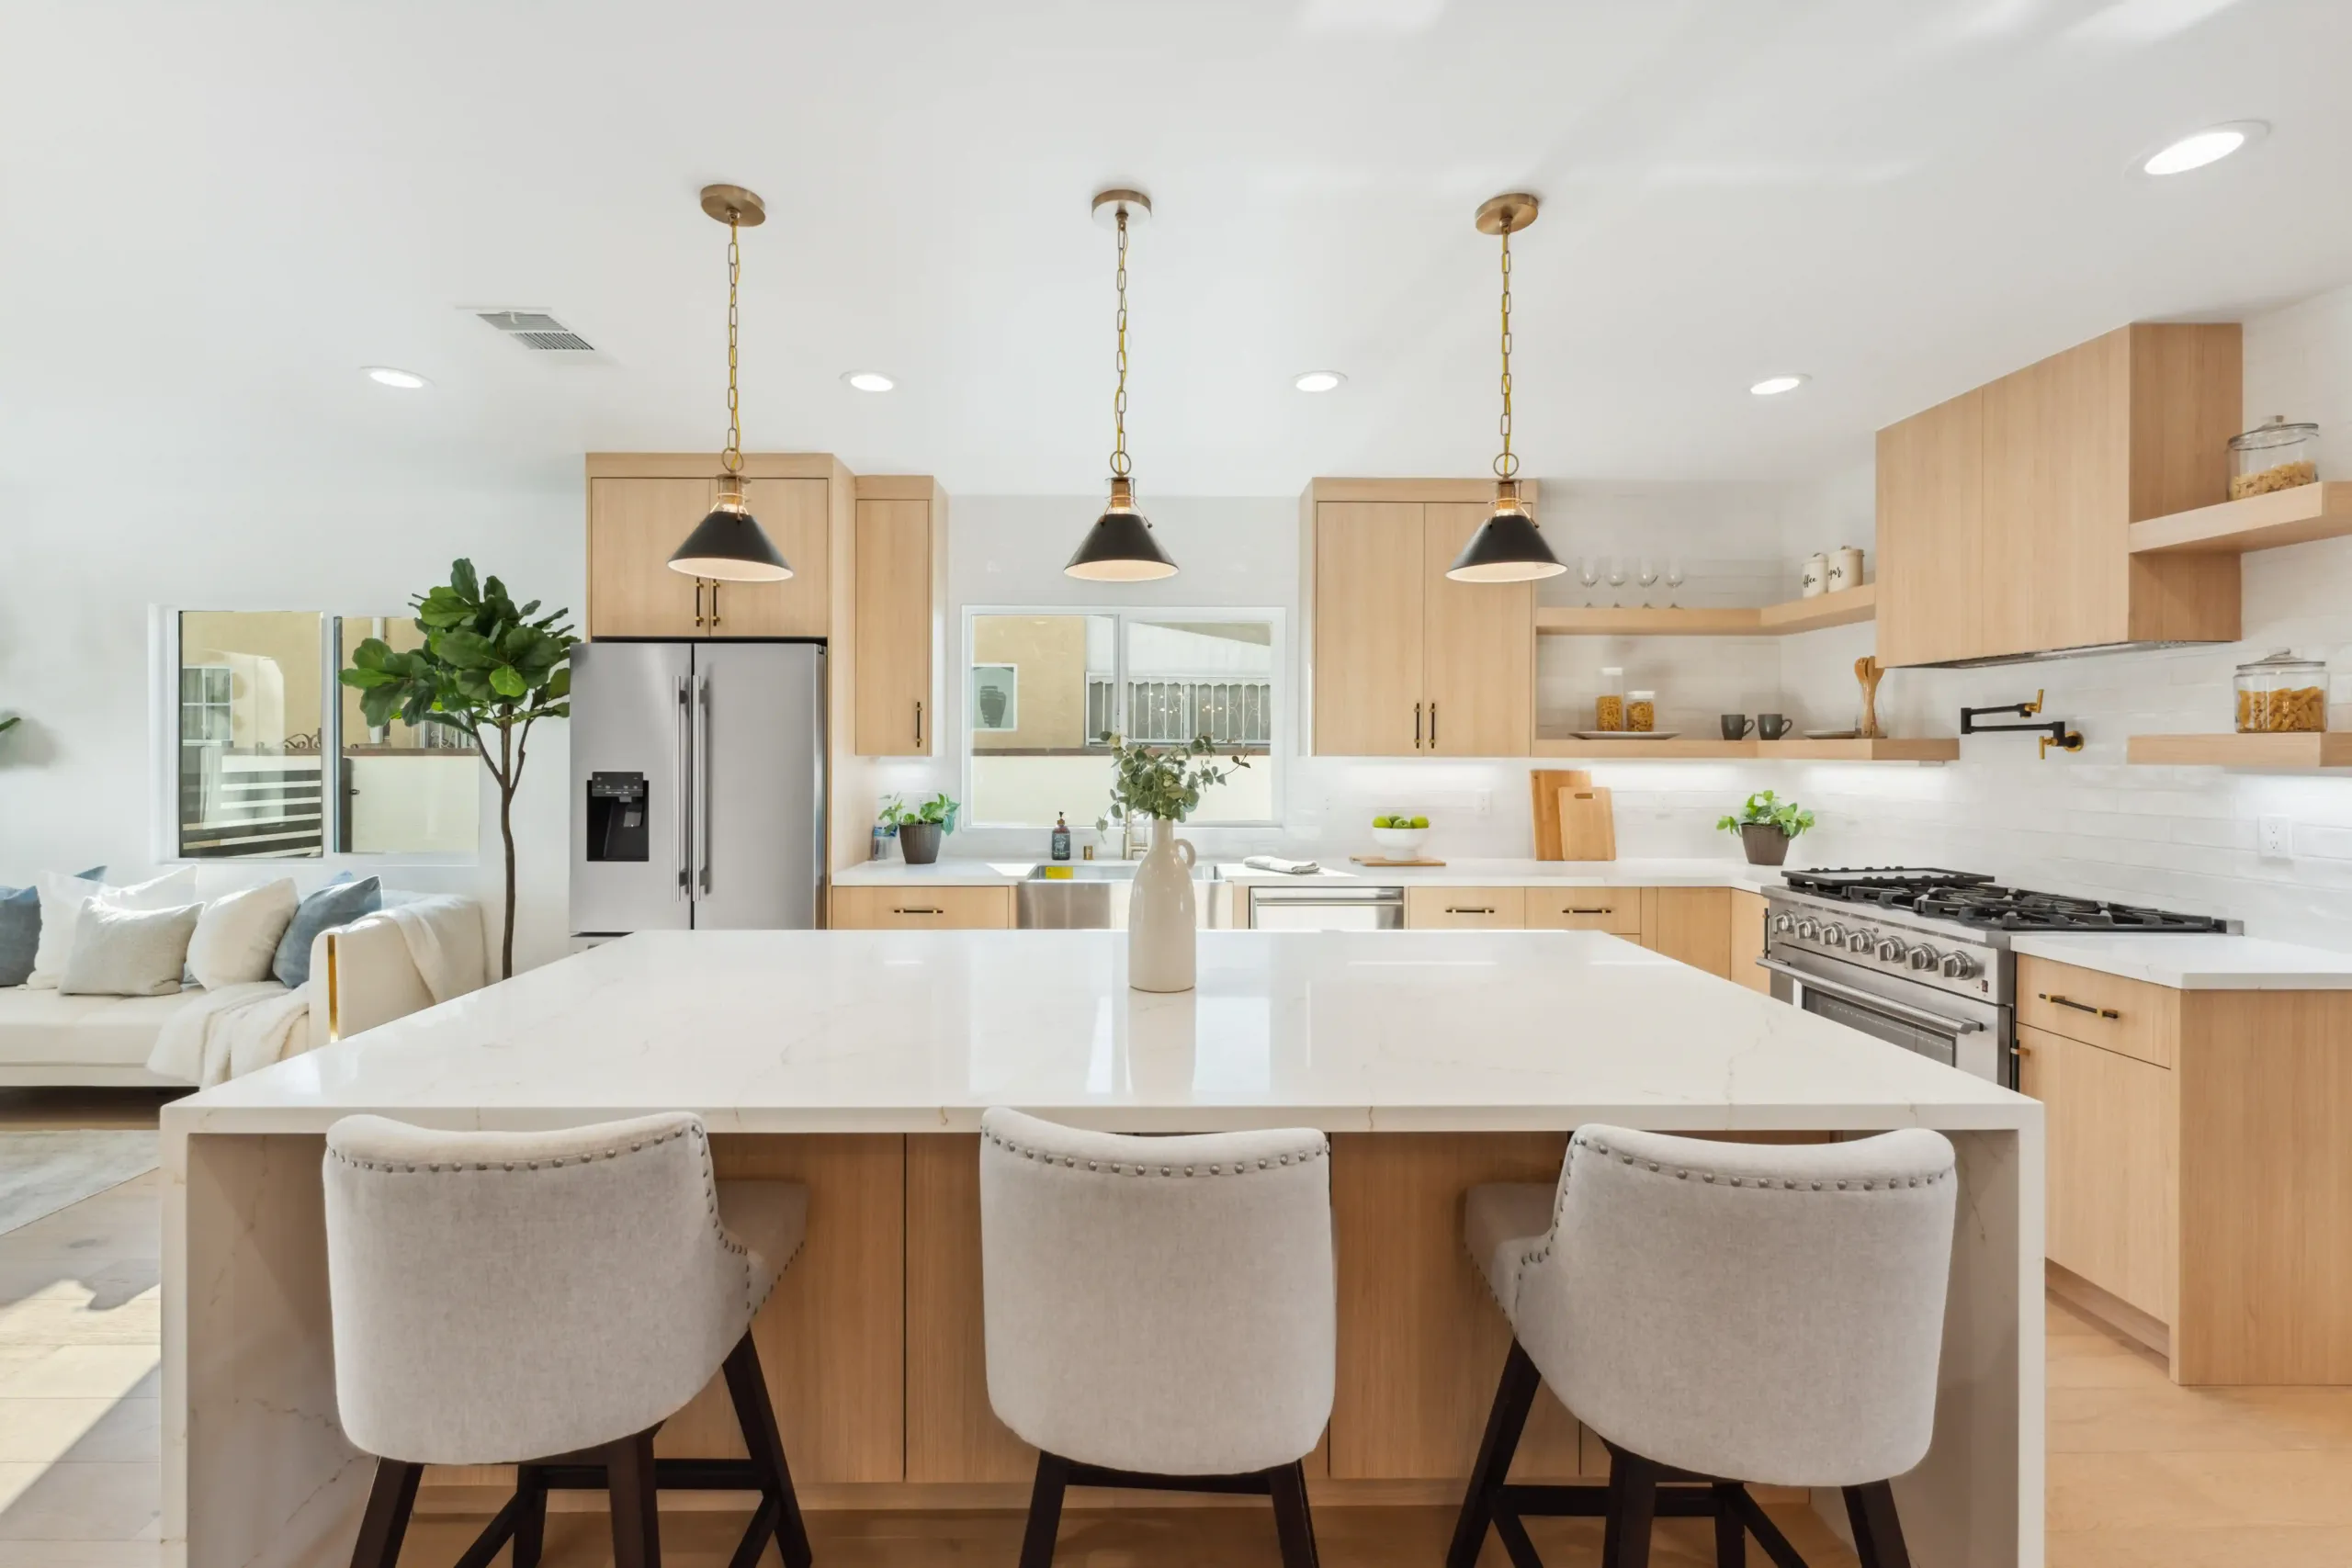
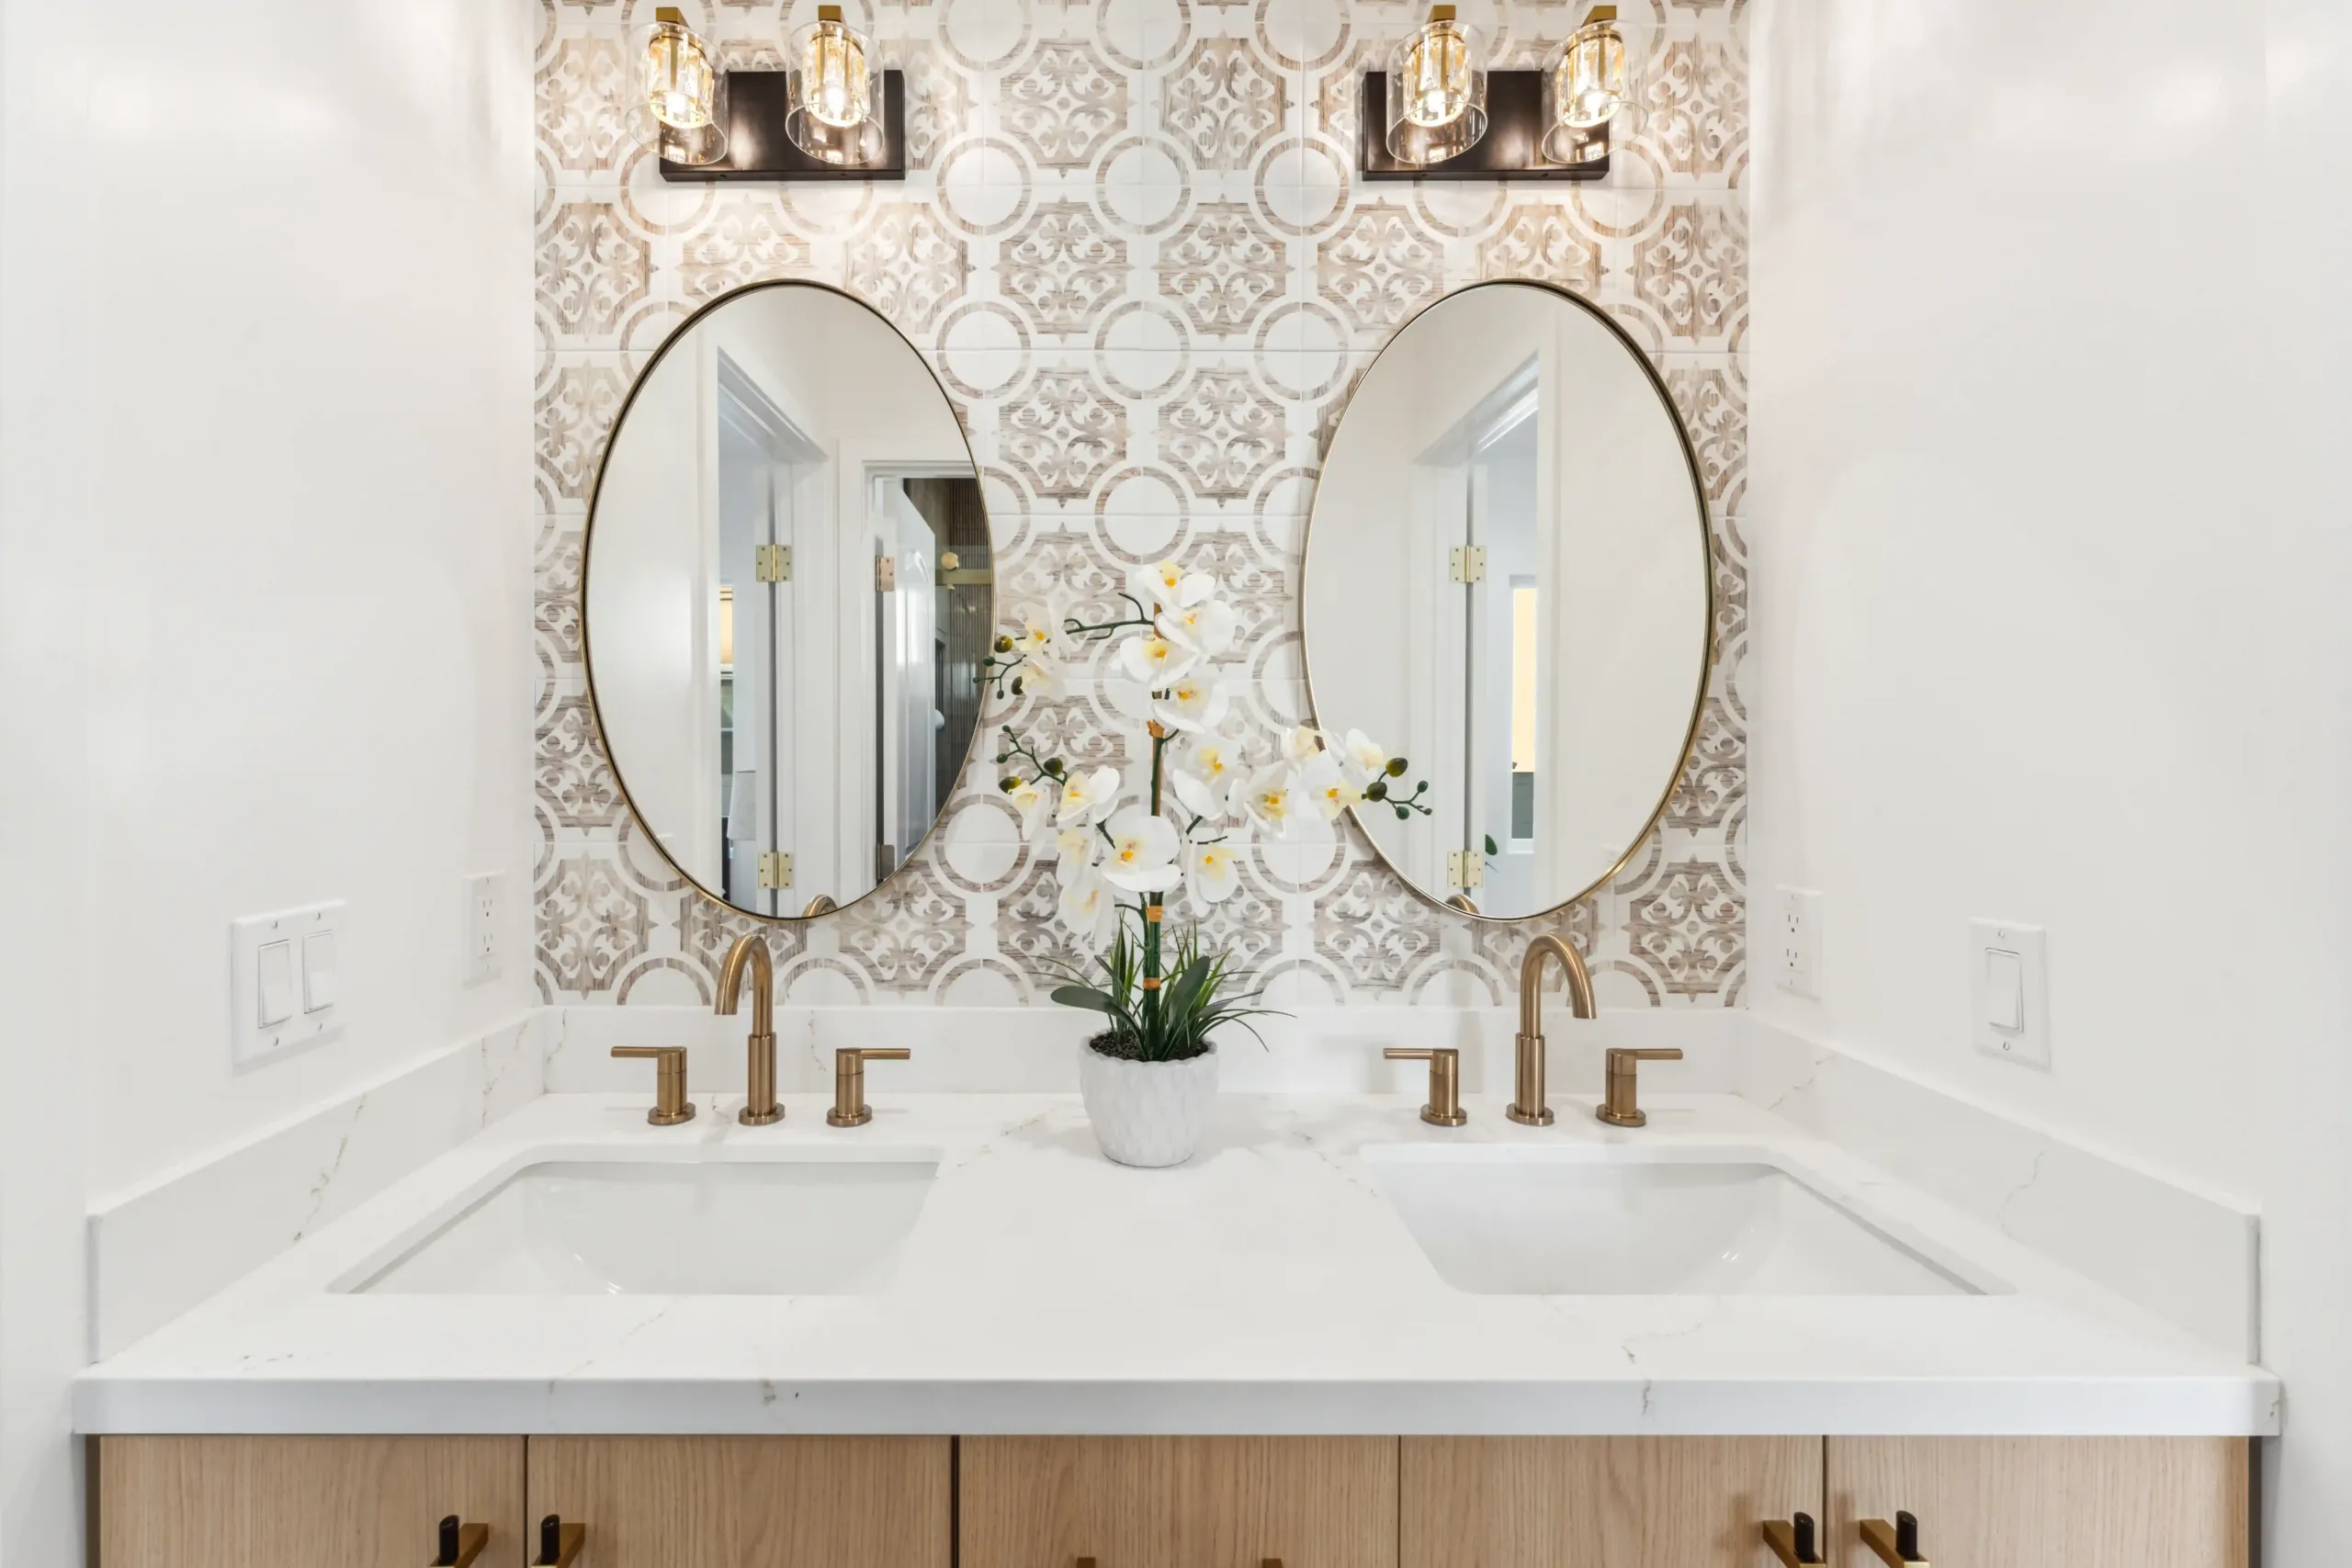
Understanding the tile flooring installation process in Rancho Cucamonga before your project begins helps you plan your schedule, budget accurately, and get the result you actually want. Tile is the most labor-intensive flooring to install correctly, the most durable when done right, and the most problematic when done wrong. At WM Construction, we have installed tile flooring as part of 127+ kitchen and bathroom remodels across Rancho Cucamonga, Ontario, and the Inland Empire since 2014. This guide walks you through every phase of the tile floor installation process — what happens, how long it takes, what it costs, and what decisions you need to make at each step.
Ceramic vs Porcelain Tile: Which Should You Choose?
The ceramic vs porcelain tile flooring decision is the first choice every Rancho Cucamonga homeowner makes when planning a tile project. Here is the honest comparison:
- Porcelain tile: Fired at higher temperatures, denser, harder, and less porous than ceramic. The preferred choice for high-traffic areas, kitchens, and bathrooms where water exposure is a concern. Scratch-resistant, chip-resistant, and maintains its appearance for decades. Cost: $3–$15 per sq. ft. for material depending on size and finish.
- Ceramic tile: Fired at lower temperatures, softer, and more porous than porcelain. Glazed ceramic is waterproof at the surface but more susceptible to chipping. Appropriate for lower-traffic areas and bathrooms. Typically 20–30% less expensive than equivalent porcelain. Cost: $1.50–$6 per sq. ft. for material.
- Large-format porcelain (24″x48″ or larger): The dominant trend in Rancho Cucamonga and Inland Empire homes in 2026. Large-format tile creates a cleaner look with fewer grout lines, making spaces look larger. Requires a very level subfloor and more skilled installation. Cost: $6–$20+ per sq. ft. fully installed.
WM Construction recommends porcelain over ceramic for tile flooring installation in Rancho Cucamonga kitchens and bathrooms. The additional durability justifies the modest cost difference in high-use areas. For bathroom tile design inspiration, see our bathroom tile trends guide for 2026.
Phase 1 — Tile Selection and Material Ordering
Before any installation begins, the tile must be selected, ordered, and confirmed in stock. Here is what happens at this phase:
- Choose the tile size and format: Standard sizes (12″x12″, 12″x24″) work in most applications. Large-format (24″x24″, 24″x48″) creates a premium look but requires a flatter subfloor and more careful installation.
- Choose the finish: Matte finish: better traction, hides dirt and water spots, appropriate for floors. Polished finish: more reflective and elegant, shows footprints and water spots more, requires more maintenance on floors.
- Calculate material quantity: Order 10–15% more tile than the calculated square footage to account for cuts, waste, and future replacement pieces. Tile lot numbers must match — tiles from different production lots often differ slightly in color or dimension.
- Reserve the tile: Once you select a specific tile, reserve the full quantity immediately. Popular porcelain patterns sell out and may not restock from the same lot.
WM Construction handles all material selection, quantity calculation, and ordering as part of the free 3D design process for every kitchen remodel in Rancho Cucamonga and bathroom remodel in Ontario CA. You see the tile in your actual space before any order goes in.
Phase 2 — Subfloor Assessment and Preparation
Tile flooring fails most often because of inadequate subfloor preparation. A tile installer who skips this phase is setting the floor up for cracking, popping, and hollow spots within 2–5 years. Here is what proper subfloor preparation looks like for Rancho Cucamonga slab-on-grade homes:
- Flatness check: Tile industry standards require a subfloor flat to within 3/16″ per 10 feet for standard tile sizes, and 1/8″ per 10 feet for large-format tile (24″+ in any dimension). WM Construction checks flatness with a long straightedge across the entire floor before any tile work begins.
- Self-leveling compound: Low spots exceeding the flatness tolerance require self-leveling compound. The compound is poured, spreads to fill low areas, and cures for 2–4 hours before tile installation begins. This step adds $0.50–$2.00 per sq. ft. to the project cost but prevents failures that cost $3,000–$8,000 to correct after the tile is set.
- Cement board underlayment (over wood subfloor): When tile goes over a plywood subfloor rather than concrete, 1/2″ cement board must be installed first. Cement board provides a stable, non-compressible surface for tile. Cost: $1.50–$2.50 per sq. ft. additional.
- Crack isolation membrane: For concrete slabs with existing cracks or in seismically active areas (which Rancho Cucamonga is), a crack isolation membrane installed under the tile decouples the tile from minor slab movement. This is a meaningful protection in the Inland Empire. Cost: $1–$2 per sq. ft. additional.
The subfloor preparation phase for a standard Rancho Cucamonga kitchen (200–300 sq. ft.) takes 4–8 hours. WM Construction never begins tile setting until the subfloor passes a flatness check — this standard is non-negotiable.
Phase 3 — Layout Planning: The Most Important 30 Minutes
Before the first tile gets set, the tile setter maps out the layout pattern across the entire floor. Layout planning determines:
- Starting point and centerline: The setter snaps chalk lines to establish a reference grid. The starting point determines whether cut tiles at the edges are acceptably sized (at least half a tile) or awkwardly narrow (a sliver). Getting the starting point wrong produces a floor that looks unprofessional even if every tile is perfectly level.
- Pattern orientation: Straight-lay (tiles running parallel to walls), offset/brick (each row offset by half a tile width), diagonal (tiles set at 45° to walls), or herringbone. The pattern affects installation time and material waste.
- Grout joint width: Most porcelain tiles set with 1/8″–3/16″ grout joints for floor applications. Larger format tiles typically use 1/16″–1/8″ joints. The setter recommends the joint width based on the tile dimensions and any lippage between tile edges.
WM Construction includes layout planning as part of the full 3D design for every tiled kitchen and bathroom in Rancho Cucamonga. You approve the layout pattern and starting point before the first tile is set.
Phase 4 — Tile Setting: The Core Installation Phase
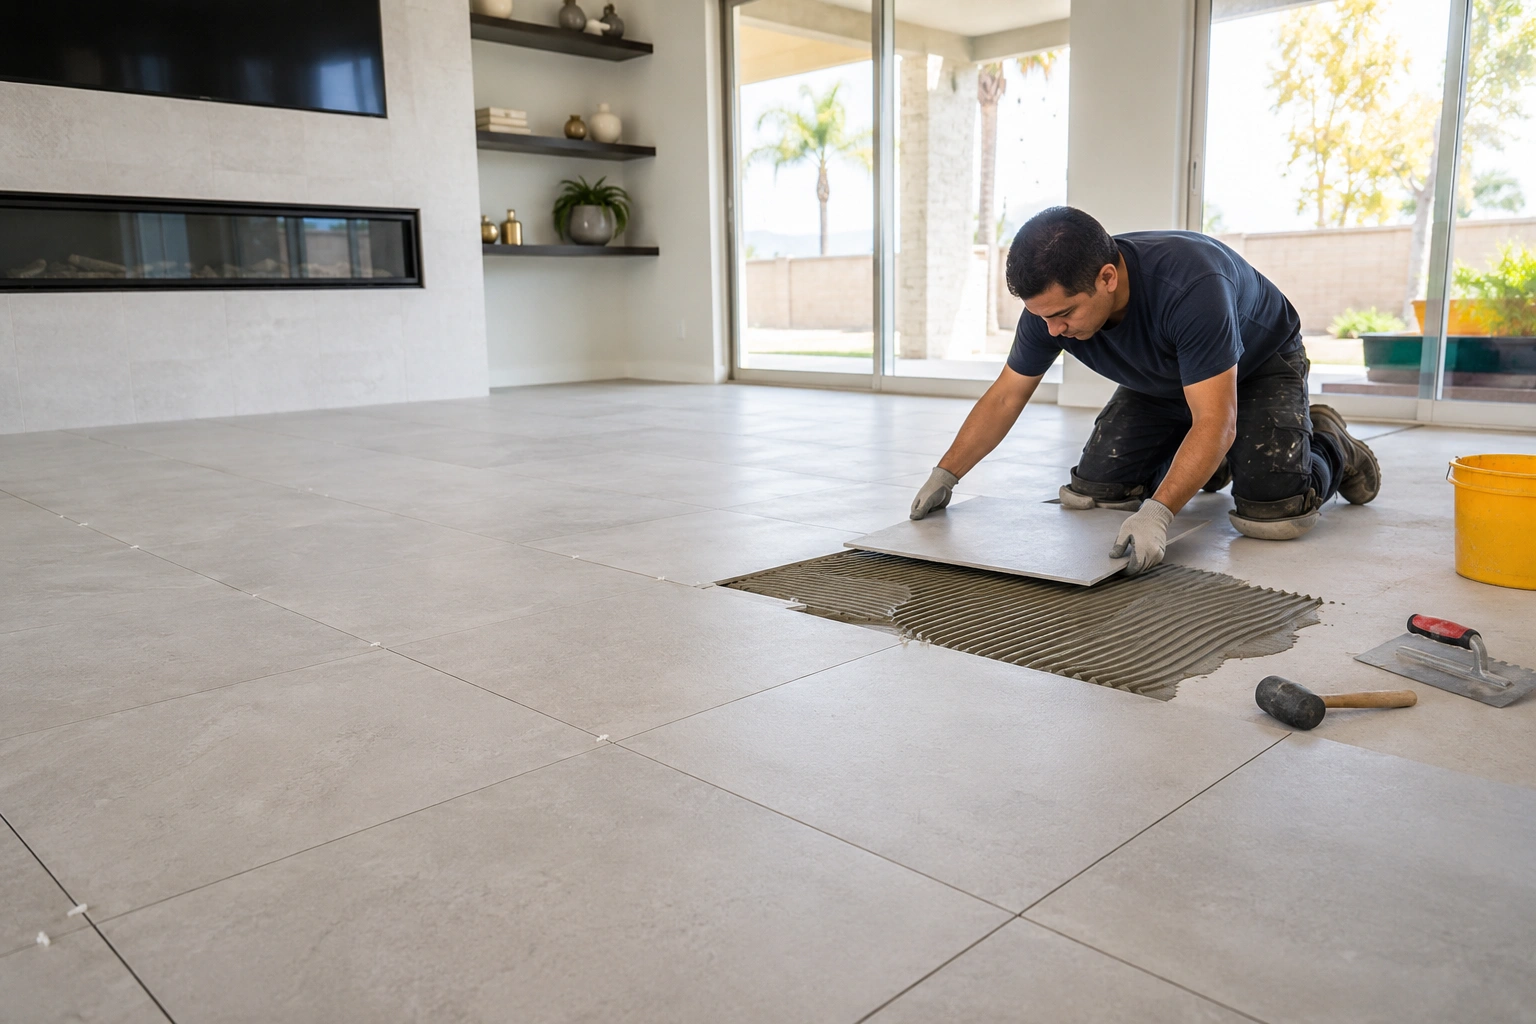
With the subfloor prepared and layout confirmed, the setter begins installing tile. Here is how the tile floor installation process works for a standard Rancho Cucamonga kitchen:
- Thinset mortar application: The setter combs thinset mortar onto the subfloor in sections using a notched trowel. The notch size matches the tile format — larger tiles require deeper notches to ensure full mortar coverage.
- Back-buttering large-format tile: Large-format porcelain (24″+) requires back-buttering — applying a thin coat of thinset to the back of the tile in addition to the floor — to ensure 95%+ mortar coverage, which is the industry standard for wet areas and commercial-grade installations.
- Setting, leveling, and spacing: Each tile is set into the mortar, leveled front-to-back and side-to-side with a level, and spaced with plastic tile spacers to maintain consistent grout joint width.
- Lippage control: Large-format tile requires lippage clip systems to prevent edge-to-edge height variation between adjacent tiles. Lippage over 1/32″ in a grout joint becomes a tripping hazard and looks unprofessional.
- Cutting: A wet diamond-blade tile saw cuts perimeter tiles and tiles around obstacles (cabinets, islands, door frames). The quality of cuts at edges and transitions is a primary indicator of craftsmanship.
Tile setting speed in a standard Rancho Cucamonga kitchen runs 150–250 sq. ft. per day depending on tile size and pattern complexity. A 200 sq. ft. kitchen floor typically takes 1–2 full setting days.
Phase 5 — Mortar Cure Time: The Waiting Phase
After tile setting, the mortar needs time to cure before grouting begins. This is not a phase that can be rushed:
- Standard thinset curing time: 24 hours at minimum before grouting. Some rapid-setting thinset products allow grouting after 4–6 hours.
- Do not walk on the tile during cure time: Any movement or weight on a freshly set tile can break the bond between the tile and the mortar. WM Construction marks and cordons off freshly set areas during curing.
- Grout joint inspection: The setter inspects every grout joint during cure time to ensure no mortar has squeezed up into the joint space. Any mortar in the joints gets removed before it hardens fully.
Phase 6 — Grouting
Once the mortar cures, grouting fills the joints between tiles and locks the installation together. Here is how the process works:
- Grout selection: Sanded grout for joints 1/8″ and wider. Unsanded grout for joints narrower than 1/8″. Epoxy grout for high-stain-risk applications (commercial kitchens, outdoor areas). Most residential Rancho Cucamonga kitchen and bathroom projects use sanded or unsanded cementitious grout.
- Grout color selection: Grout color dramatically affects the overall look of the floor. Light grout shows stains more easily. Dark grout can look heavy. Medium-tone grout coordinated with the tile color is the most practical choice for Inland Empire kitchens and bathrooms.
- Application and tooling: The setter forces grout diagonally across the tile faces with a rubber float, filling every joint completely. Excess grout is worked off the tile face before it begins to set.
- Grout curing: 24–72 hours before the floor can receive normal use. Grout continues to cure and harden for 28 days after installation.
Phase 7 — Sealing and Final Cleanup
- Grout sealing: Cementitious grout is porous and must be sealed to resist staining in kitchens and bathrooms. WM Construction applies grout sealer as a standard step after every tile floor installation in Rancho Cucamonga. Resealing every 1–2 years keeps grout looking clean.
- Caulk at transitions: Movement joints at the tile-to-wall transition, around the base of cabinets, and at any change in plane receive flexible caulk — not grout. Caulk accommodates slight movement between surfaces without cracking.
- Final cleanup: The setter performs a final cleanup of grout haze from tile surfaces, cleans all transitions, and conducts a walkthrough with the homeowner.
Tile Floor Installation Cost in Rancho Cucamonga 2026
Here is a realistic breakdown of tile floor installation cost in Rancho Cucamonga for 2026:
- Ceramic tile: $1.50–$4 per sq. ft. material + $5–$8 per sq. ft. labor = $6.50–$12 per sq. ft. fully installed
- Standard porcelain (12″x24″): $3–$8 per sq. ft. material + $5–$9 per sq. ft. labor = $8–$17 per sq. ft. fully installed
- Large-format porcelain (24″x48″): $6–$15 per sq. ft. material + $8–$13 per sq. ft. labor = $14–$28 per sq. ft. fully installed
- Subfloor leveling (when needed): $0.50–$2.50 per sq. ft. additional
- Cement board underlayment (over wood subfloor): $1.50–$2.50 per sq. ft. additional
- Old flooring removal: $1–$3 per sq. ft. additional depending on material type
A standard Rancho Cucamonga kitchen tile installation (200 sq. ft., standard porcelain) runs $2,400–$5,000 fully installed. Coordinating tile installation with a kitchen remodel saves on trade mobilization costs. See the kitchen remodel cost guide for Rancho Cucamonga for complete project pricing.
How Long Does Tile Installation Take in Rancho Cucamonga?
Answering how long does tile installation take in a Rancho Cucamonga home depends on the area size, tile format, and subfloor condition:
- Kitchen floor (150–300 sq. ft.), standard porcelain: 3–5 business days total — including subfloor prep (1 day), tile setting (1–2 days), mortar cure (1 day), grouting and sealing (1 day).
- Bathroom floor and shower (80–150 sq. ft. combined): 5–8 business days including subfloor prep, waterproofing membrane, tile setting, mortar cure, grouting, and sealing.
- Large-format tile (24″x48″): Add 1–2 business days to any of the above estimates due to the more precise subfloor preparation and slower setting pace required.
- If coordinated as part of a full kitchen or bathroom remodel: The tile phase falls within the 8–12 week total project timeline for a full Rancho Cucamonga kitchen or bathroom renovation.
What Makes WM Construction Different for Tile Installation in Rancho Cucamonga?
We’re the only company in Rancho Cucamonga and Ontario that offers:
- → A free 3D design before you pay a dime
- → Weekly photo and video updates — so you always know what’s happening
- → A written contract — no hidden changes, no surprises
- → A guarantee: we won’t finish until you say you’re happy
With over 10 years of experience, we’ve been remodeling homes in Rancho Cucamonga and Ontario since 2014 — more than 10 years of real work, one home at a time. Customer satisfaction is our #1 priority, and every project we finish comes with a signed client form — we’ve completed 127+ home remodels since 2014. We get the job done right. We are licensed by the California State License Board — License #1075983. You can check it online.
Learn more about our team on the About WM Construction page, or explore our complete range of home remodeling and flooring services in Rancho Cucamonga and Ontario.
I Want Tile Flooring in My Rancho Cucamonga Home — Where Do I Start? We Come to Your Home for a Free Visit. You Won’t Be Left Guessing.
WM Construction offers a free in-home consultation for every Rancho Cucamonga homeowner planning a tile flooring installation project. We assess your subfloor, review your tile options in a 3D design, and deliver a complete written estimate before you commit to anything. If you are coordinating tile with a kitchen remodel in Rancho Cucamonga or a bathroom remodel in Ontario CA, we sequence tile installation within the overall project timeline to minimize household disruption.
Frequently Asked Questions — Tile Flooring Installation Rancho Cucamonga
Q: How long does tile flooring installation take in Rancho Cucamonga?
A: A standard kitchen tile installation (150–300 sq. ft.) takes 3–5 business days from subfloor prep through final sealing. A bathroom tile project (floor and shower combined) takes 5–8 business days. Large-format tile adds 1–2 days to any project.
Q: Is porcelain or ceramic better for kitchen floor tile in Rancho Cucamonga?
A: Porcelain is the better choice for kitchen floors in Rancho Cucamonga homes. It is harder, denser, and less porous than ceramic, making it more resistant to chipping, scratching, and water penetration. The modest additional material cost is justified by the durability advantage in a high-use kitchen environment.
Q: I want tile flooring as part of my kitchen remodel — what’s the first step?
A: We come to your home for a free meeting. We assess your subfloor, show you tile options in a complete 3D design for your kitchen, and provide a written estimate — all before you pay anything. We build it exactly how you want it.
Q: How much does tile floor installation cost in Rancho Cucamonga?
A: Standard porcelain tile installation in Rancho Cucamonga costs $8–$17 per sq. ft. fully installed in 2026. Large-format porcelain runs $14–$28 per sq. ft. A standard kitchen (200 sq. ft.) runs $2,400–$5,000 with standard porcelain, fully installed including subfloor prep and grout sealing.
Q: What makes WM Construction different from other tile contractors?
A: We don’t disappear after you pay. Every project comes with a written contract, weekly photo and video updates, and a final walkthrough where we don’t say ‘it’s done’ until you say it’s right.
Q: I’m scared to pay upfront — what if the contractor disappears?
A: We start with a written contract — every detail is documented. We are licensed by the California State License Board — License #1075983 — and we won’t finish the job until you are happy.
Ready to Plan Your Tile Flooring Installation in Rancho Cucamonga?
Contact WM Construction today at +1 951-310-3458 to schedule your free in-home consultation. With 127+ completed home remodels since 2014, California State Contractor’s License #1075983, and a team that walks you through every phase of your tile flooring installation in Rancho Cucamonga — we are the Inland Empire tile and flooring contractor you can trust.
Also considering LVP for adjacent rooms? Our LVP flooring guide for Rancho Cucamonga and our flooring installation services page give you complete information for coordinating tile and LVP across your whole home.